–Michael
Ingredients
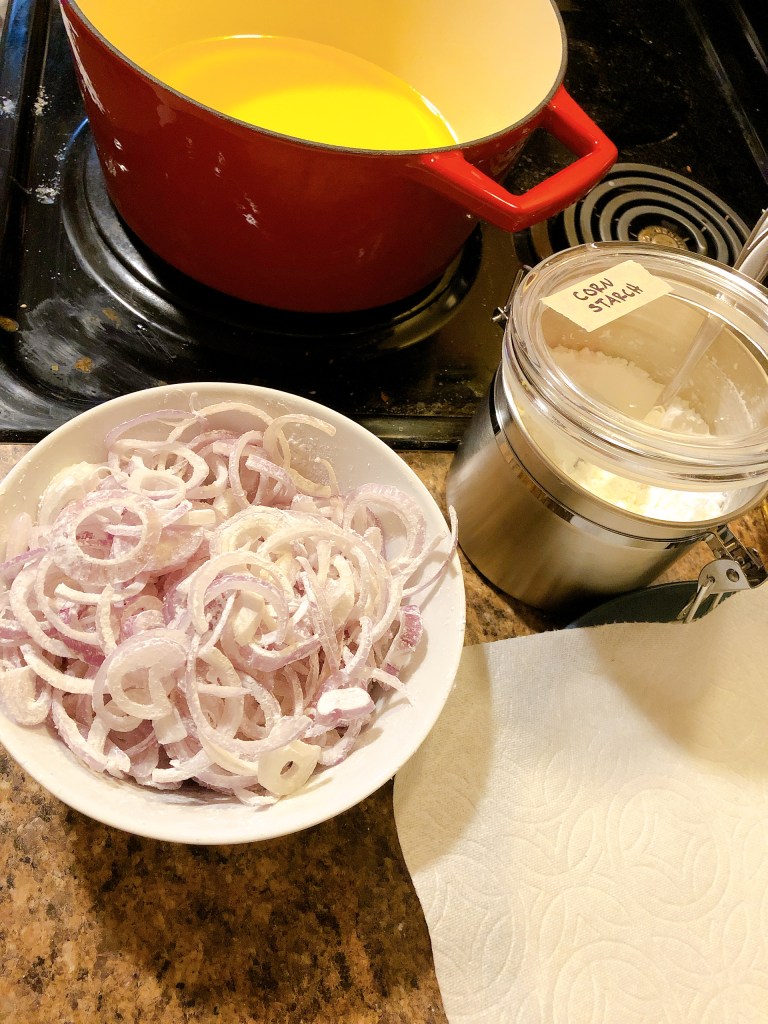
- 4 shallots, sliced into as thin of rings as you can manage
- 1 Tbs cornstarch
- Oil for frying
Directions
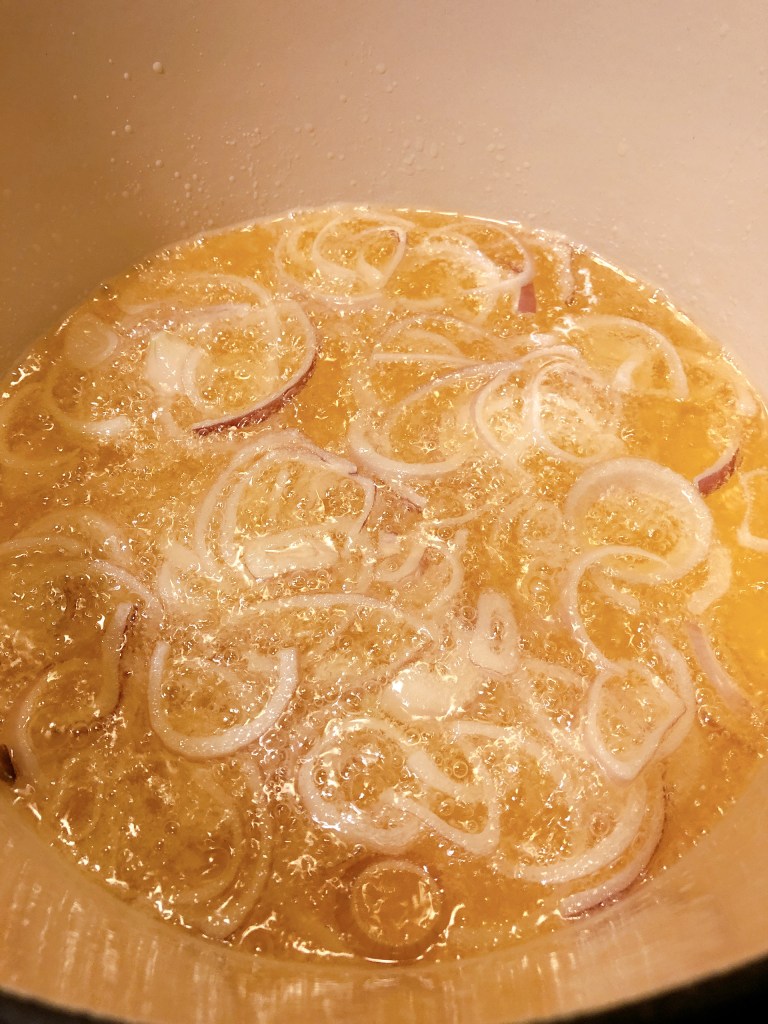
- Pour 3/4″ – 1″ canola oil in a stainless steel or cast iron pot. Heat to 250°F.
- Toss the shallots and cornstarch. Start with less cornstarch and keep adding until the shallots feel dry.
- Divide the shallots into manageable batches (the amount per batch will vary depending on the diameter of your frying pot). One batch at a time, drop the shallots into the oil. Let them fry until they pick up some color from the oil (you may need to pull them out to be able to tell). Transfer them to a paper towel lined plate. Repeat with remaining batches.
- Increase oil temperature to 350°F. Line your plate with a clean paper towel.
- Again in batches, place the par-fried shallots into the oil for 15-20 seconds, agitating constantly.
- Let dry.
- Notes:
- When mixing in the cornstarch, I recommend using your hands, as this will help break the rings apart and help coat everything evenly.
- If too much cornstarch is added, all it does is waste the cornstarch and create a sad layer of debris in the bottom of the pot. I call it sad because, no matter how much it felt like sand, I couldn’t make even a single sand castle out of it.
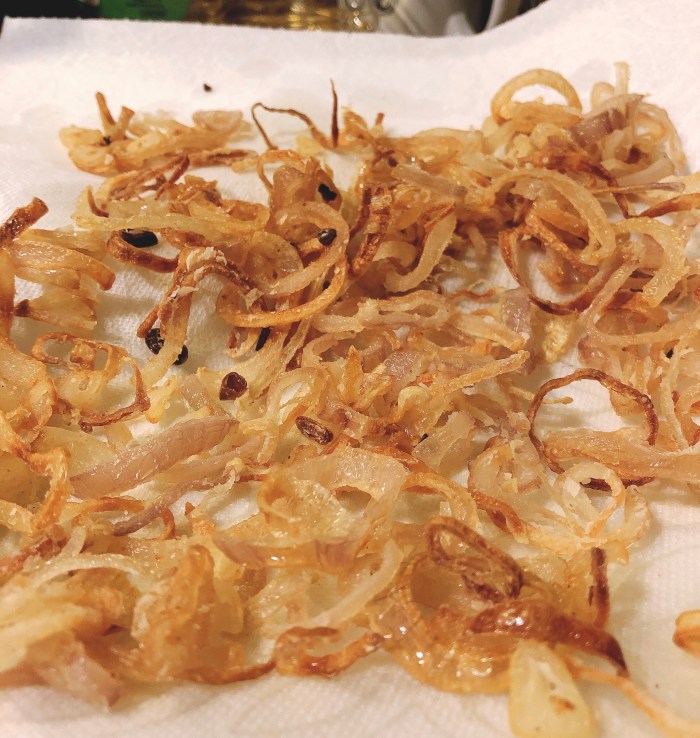
- Between the two rounds of frying, I pat the shallots dry to remove excess grease, like with bacon. I think this helps them get a bit firmer before their second dunk, which helps the crispiness in the long run. I’m still experimenting with this theory.
Frying is very new to me because I previously only had nonstick pots. Now, I’m not advertising that people should have weddings just because of the opportunity to get more kitchen stuff, but I can’t deny that it’s been a major boon, and it’s quite impressive the number of times I’ve heard some variation on, “The true proof that you got married is your nice KitchenAid mixer.” Anyway, my point is that I now have a dutch oven and I’ve been using it to fry some stuff. Like these shallots.
Never fried anything? The shallot slices are relatively small and the oil temperatures are relatively low, so the chances of splashing, spitting, and burning are relatively low. Never used shallots (or not sure what they taste like because they always disappear amidst other ingredients)? Here, they’re the leading role!
These little beauties are a great addition to lots of things, whether looking for the flavor, a bit of crisp, or a minuscule “cheat” item in your diet.
This recipe is a work in progress, and updates will be posted as they’re discovered. Current goal: get them crispier. (Please post any suggestions in the comments below!)