It’s Almost New Years

-Keith

And as such, it’s about time to start thinking about new years resolutions, and reflect on old years resolutions.

I never specifically make a hard and fast resolution. Instead I have vague goals I want to work on. Some never work out but were good goals to have, some are doomed to fail because I know who I am and that goal is not something I’d succeed at, and some goals I start working on part way through the year and thus they never were originally a new year resolution, but they fit the spirit of it so I count them. Looking at 2018, I wanted to learn more about homemade/artisan pasta (and that was a success), and I wanted to make homemade bread and sourdough (that was and still is a failure, and still is something I’m working on).

Reflecting on last year’s (food focused) goals, I wanted to learn more about cheeses and make cheese spreads and charcuterie boards, and I aimed to learn more about mixing drinks and stock a decent home bar. I didn’t come close to meeting either of these. I still only reliably have whiskey on hand, and I know very little about cheese. The reasoning behind both goals was simple, I want to increase of diversity of what I can cook and flavors I bring to a dish, and those two areas (cheeses I use and mixology) were sorely lacking compared to other areas.

I didn’t meet those goals. And that’s just fine. Still, it makes sense to think about why. Focusing on the mixology: that’s pretty simple. Alcohol is expensive, and I like whiskey so I don’t stand to benefit from stocking a bar with drinks I don’t care much for. Beyond that I live in Kansas with outdated liquor laws so to pick up anything I have to go to a liquor store (unless I’m in the mood for a low alcohol content beer) and the inconvenience of that is enough to stop impulse purchases from me.

Switching to the cheeses, I didn’t meet that goal for similar reasons. Cheese can get expensive fast, and it’s hard to beat my go-to’s (parmesan, mozzarella, cheddar, and pepper-jack). Beyond that my significant other doesn’t like the funky cheeses at all, so she doesn’t seek them out or prompt me to seek them out. Finally, my grocer doesn’t stock many cheeses. I go to a grocer in a strongly latino community and their stock reflects that (I have access to so many amazing ingredients I’ve never been able to purchase before, so it’s a worthwhile trade off in my book), so to get a wider variety of cheese I have to go out of my way a bit more than normal. And I am too lazy for that.

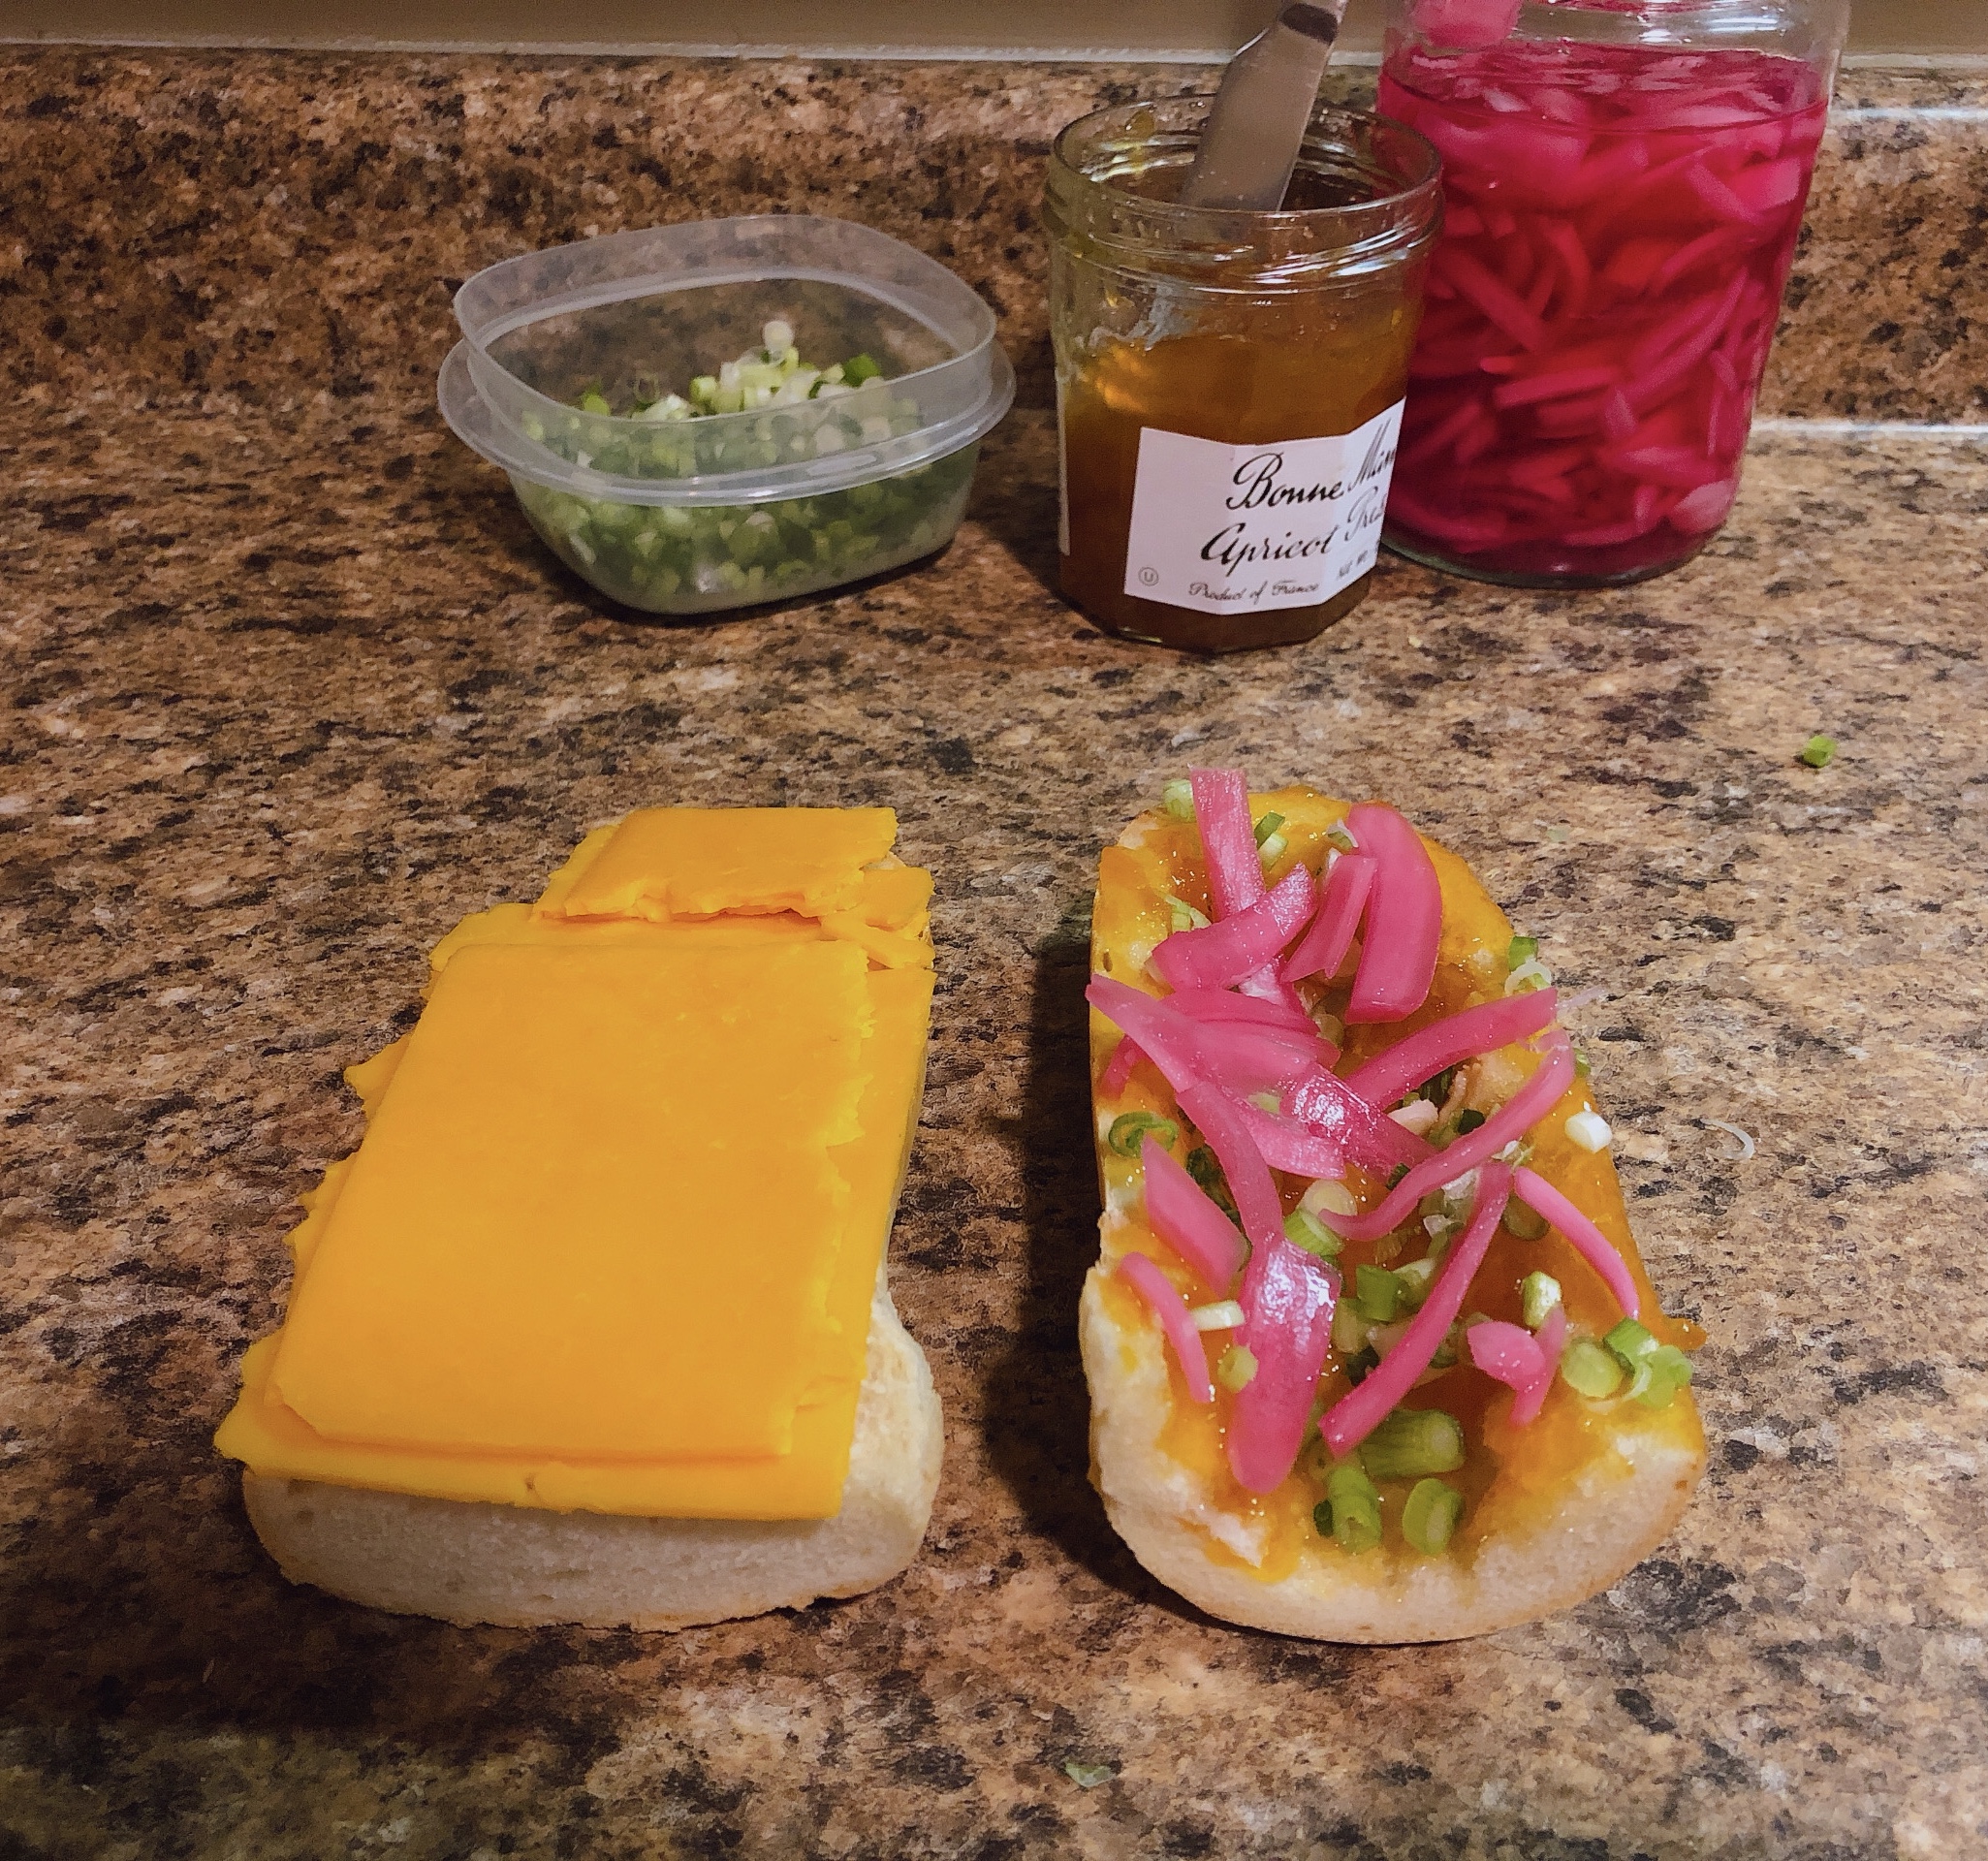
Instead of charcuterie and spirits, last year I ended up working on spice mixes. I have a wide selection of dried peppers and chili peppers at my grocer, and a friend from Arrakis who gets me a good deal. I tried making Alton Brown’s chili powder and taco seasoning with a few adjustments and I love them. The difference in flavor between homemade chili powder and store bought is surprising. When I cook I frequently rate dishes I enjoyed based on different levels of ‘worth-it-ness’, notable levels from worst to best being:

  • I’m so angry at everything especially at and because of this
  • I tried it but it wasn’t worth the effort so I’ll buy it from now on
  • I tried it and I need to try it again because I might be missing something, but I’ll buy it until then
  • I tried it and liked it, but it’s nice to have the store bought version on hand
  • I want both homemade and store bought on hand (this is usually because I go through so much that store bought just makes sense at scale)
  • I’m only making homemade from now on, even if that means I skip the dish once I’m out of it

(It’s fair to say that this isn’t actually scale, but instead an at least two or three dimensional scatter plot with axes of “taste was worth the process of making it”, “better than a store bought counterpart”, and “produces enough and lasts long enough compared to convenience of ease of purchase” where these axes may be somewhat correlated and those tiers listed above are key “worth-it” distances from the origin, the origin being “not at all worth it”. What I’m getting at is good food is good food, and beyond that it’s a matter of opinion what is and isn’t worth it and why that’s true can vary wildly.)

There is of course at least one more ‘worth it’ tier: “I’m only using the homemade version from now on, and I’m going to be that guy who tells everyone to do the same and if I’m giving you a gift surprise it’s homemade x”, and this is the tier that chili powered and taco seasoning ended up in. And because of how good it was and how many new-to-me ingredients I had on hand after making them, I started trying new blends of dried peppers and spices.

I started noticing how easy it was to make a quick blend to compliment or add to a simple dish, and how much variety different blends could have. I haven’t ‘learned’ much and can’t rattle off facts or histories about these ingredients, but I’ve gotten a better feel for concocting something, and that’s the goal of my food resolutions. I’m not done learning, but I have a foothold in the area and now have more confidence to say, “I think this would be possible and tasty”.

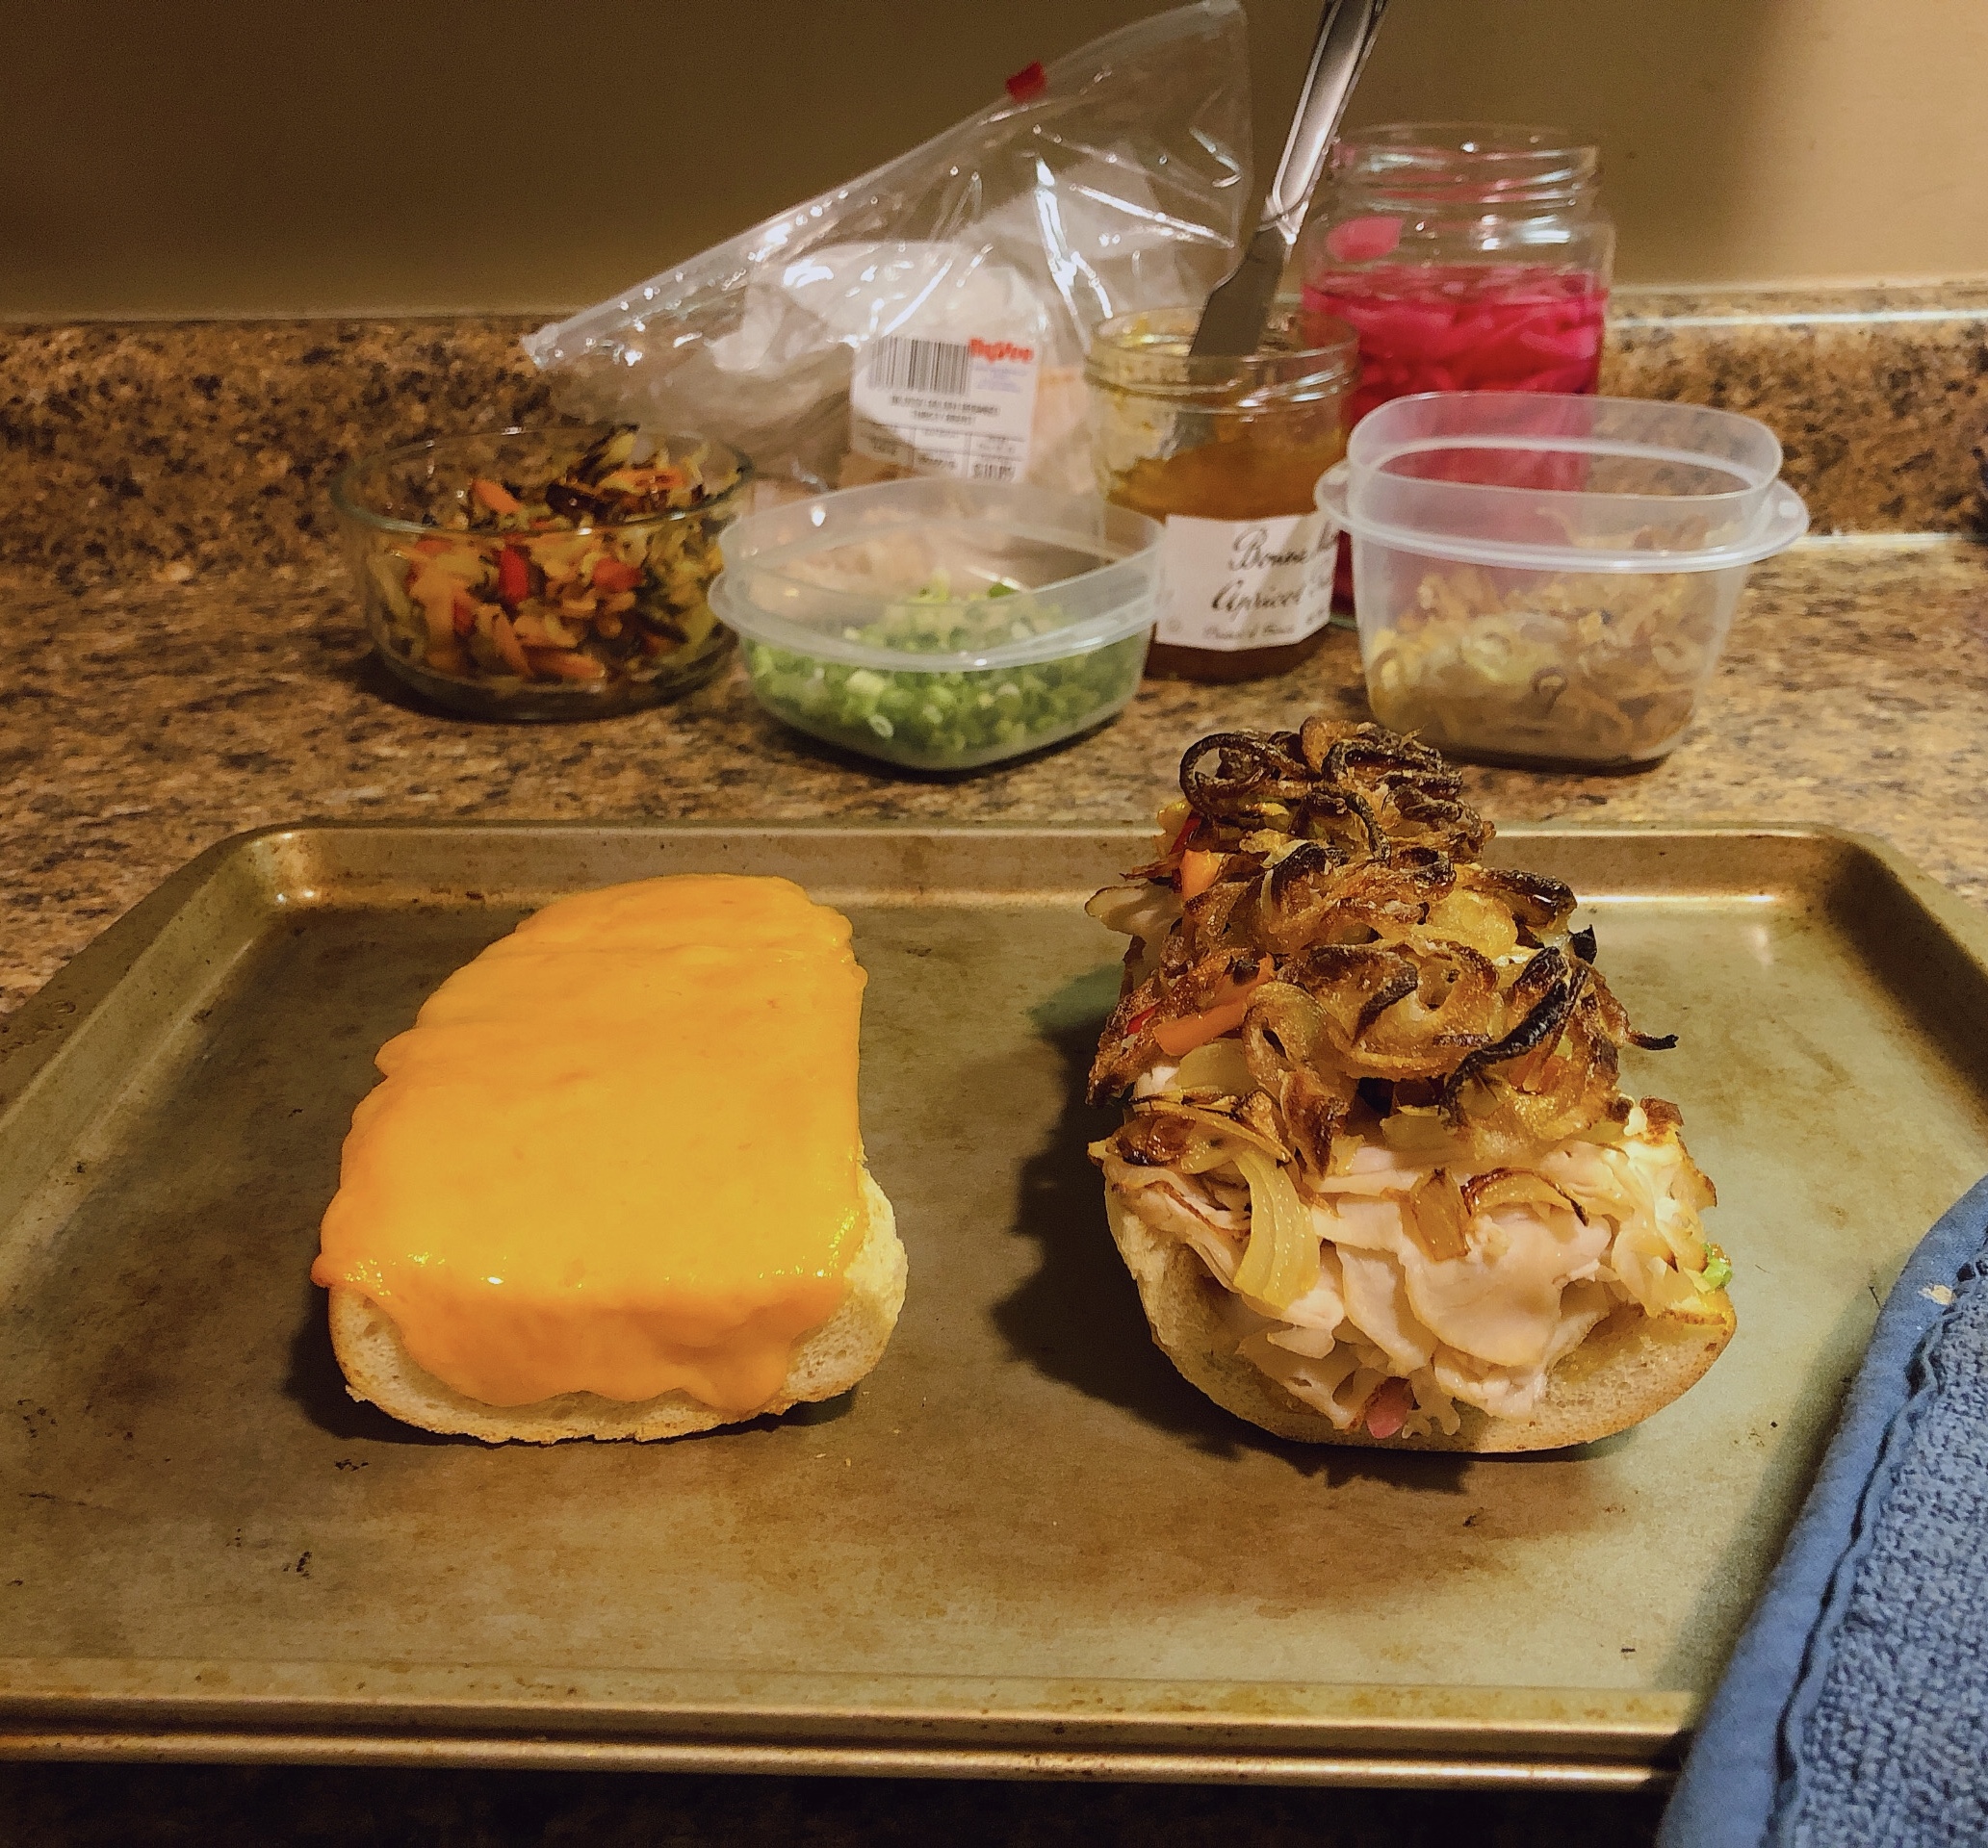
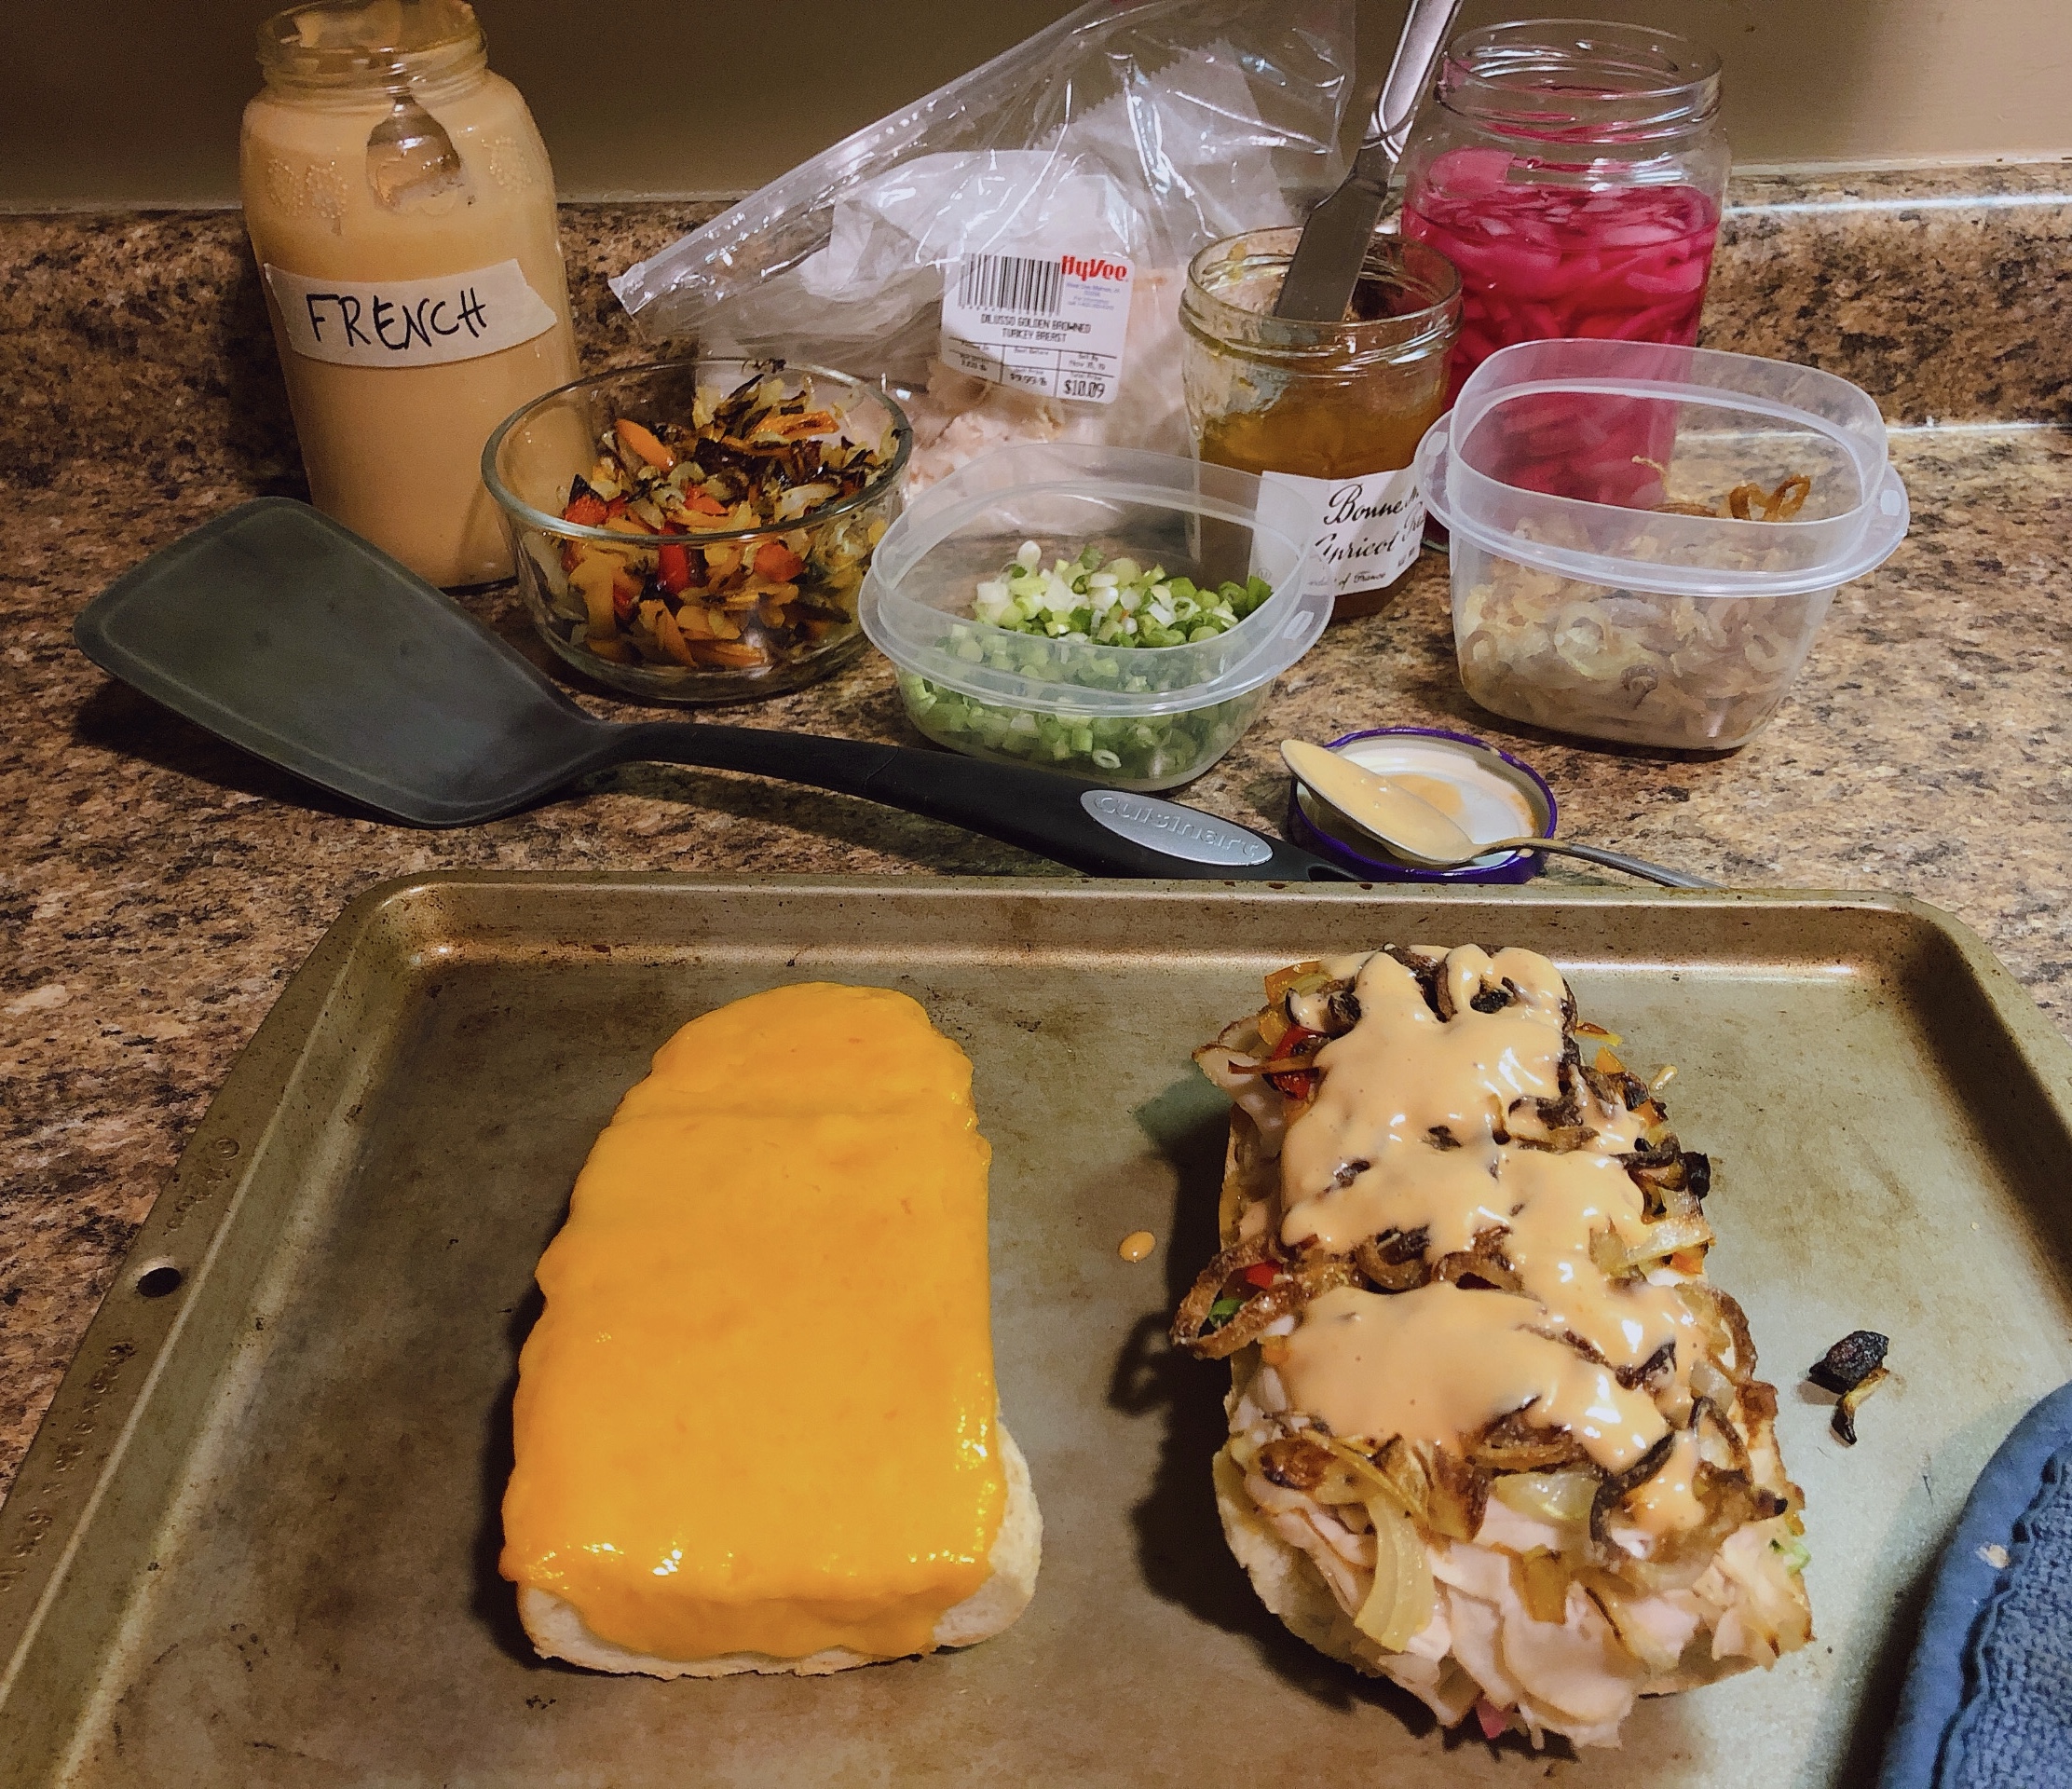
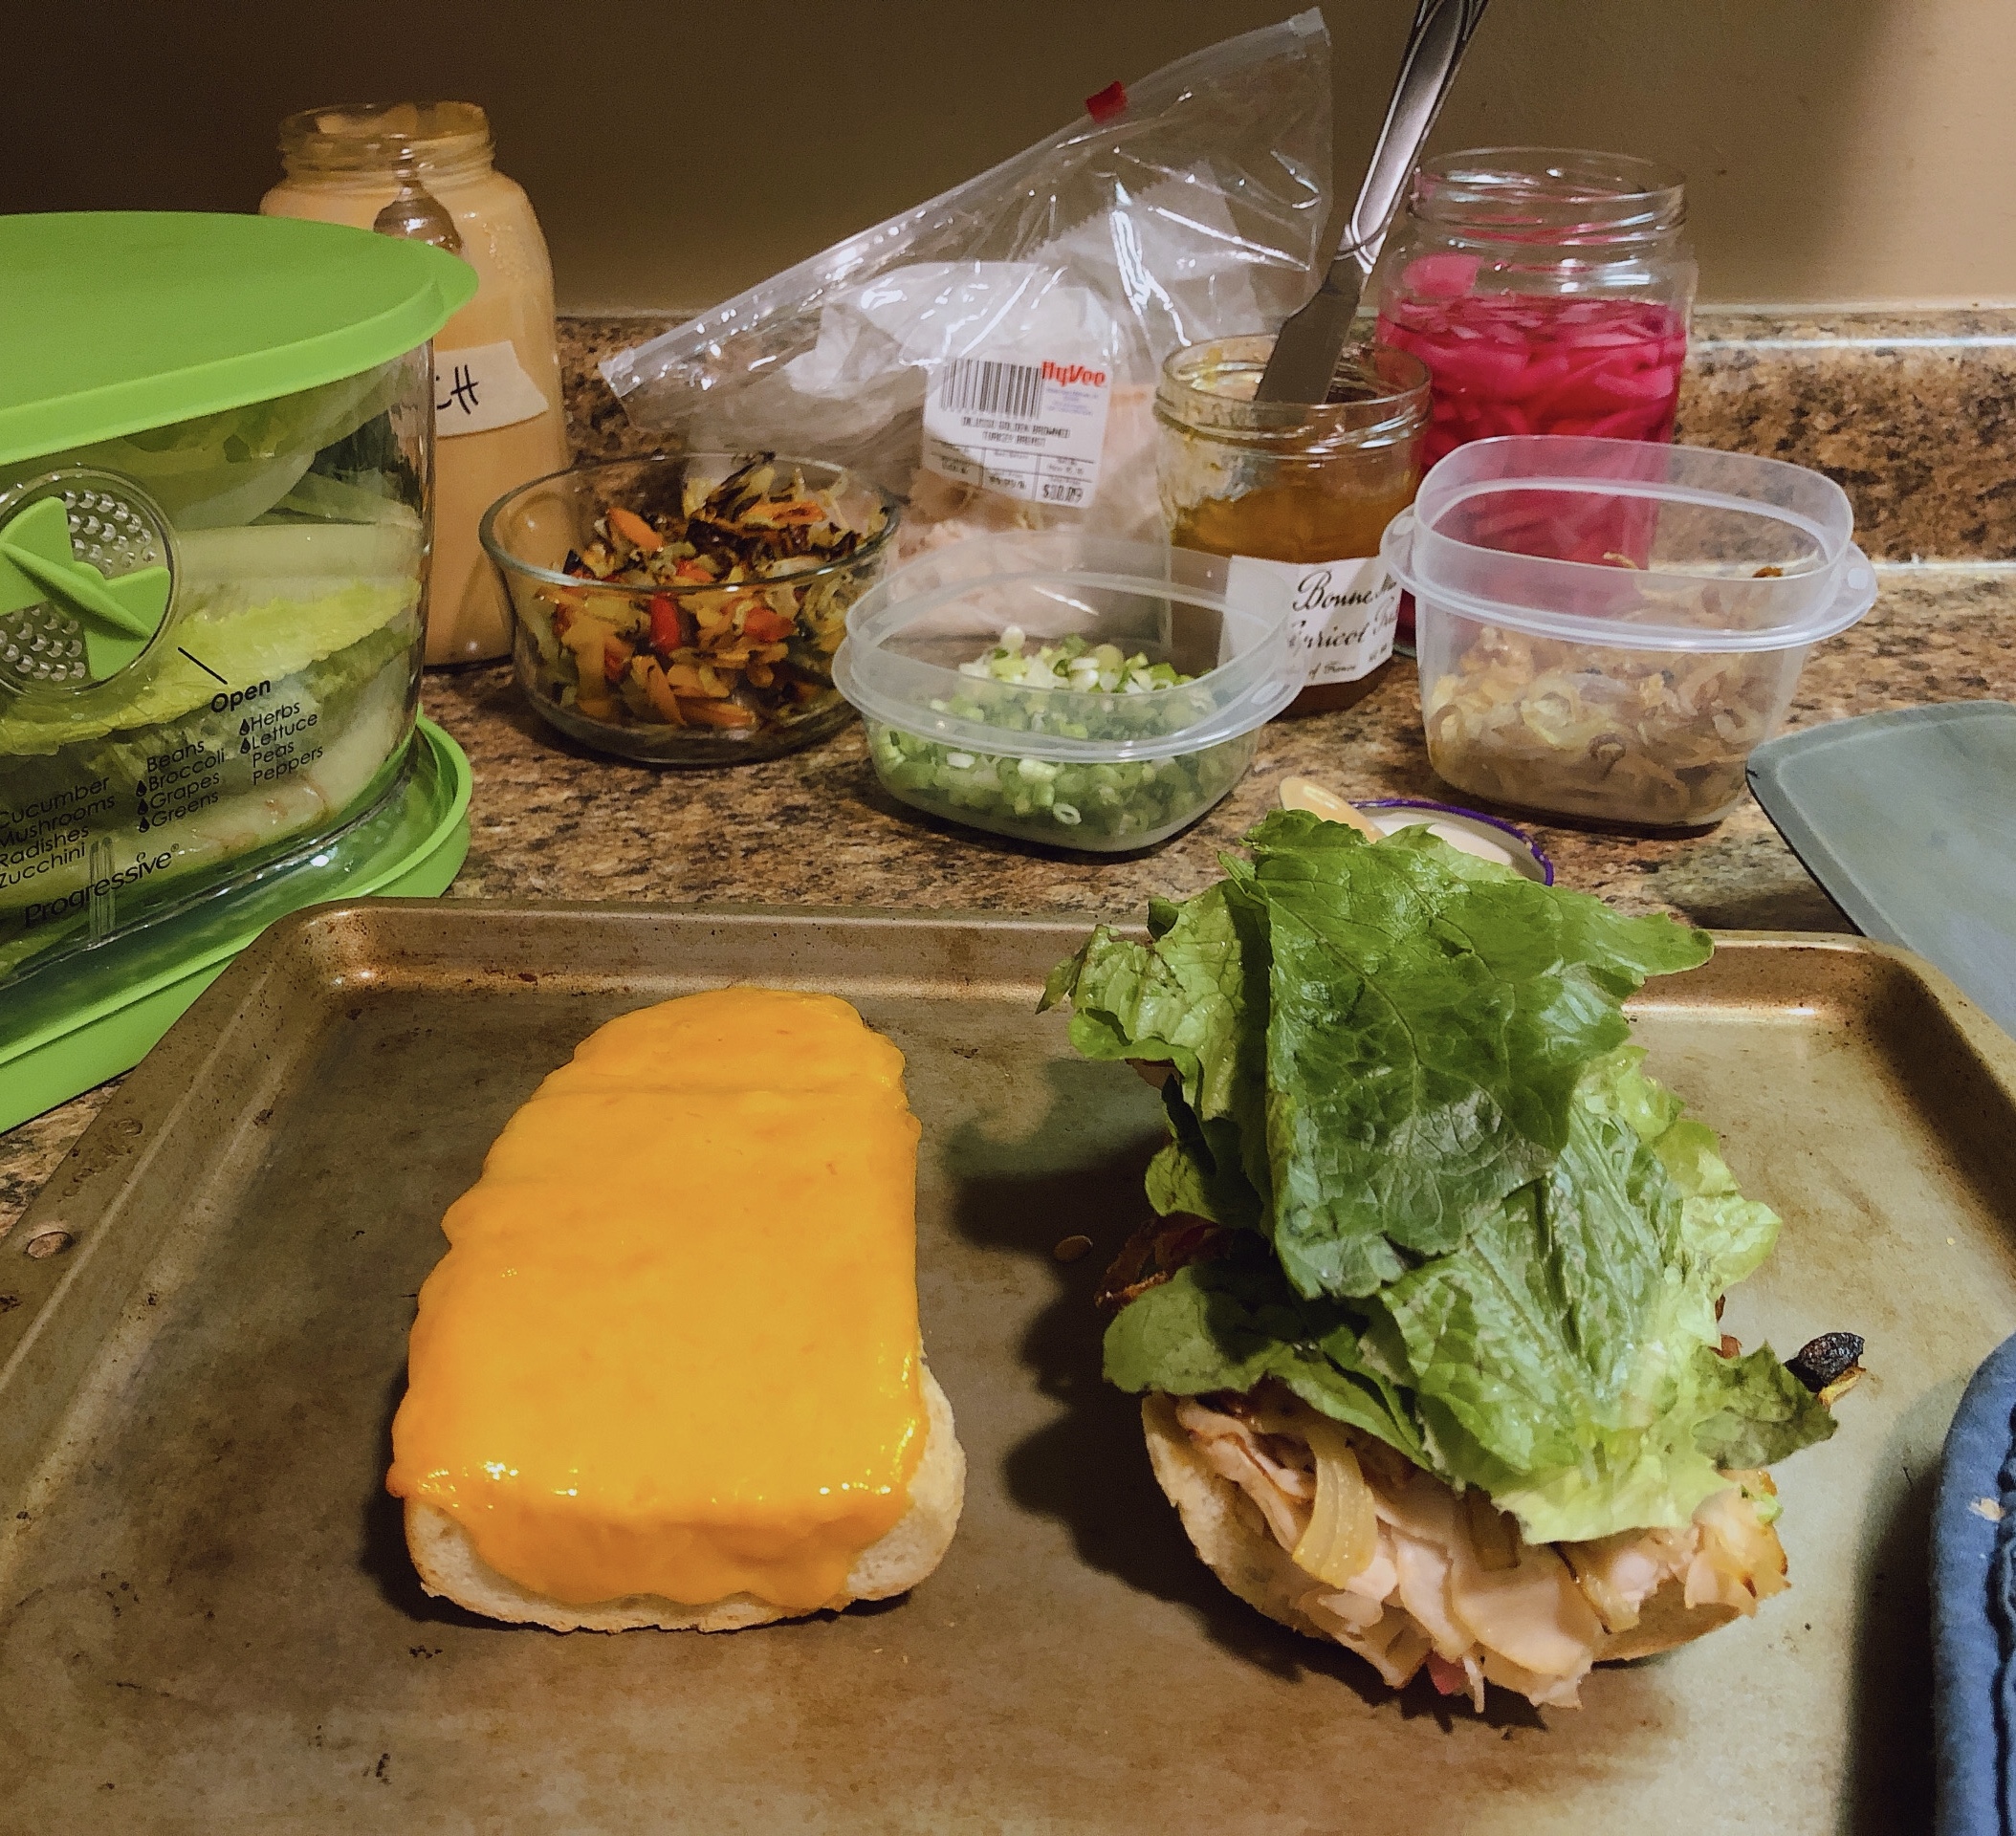
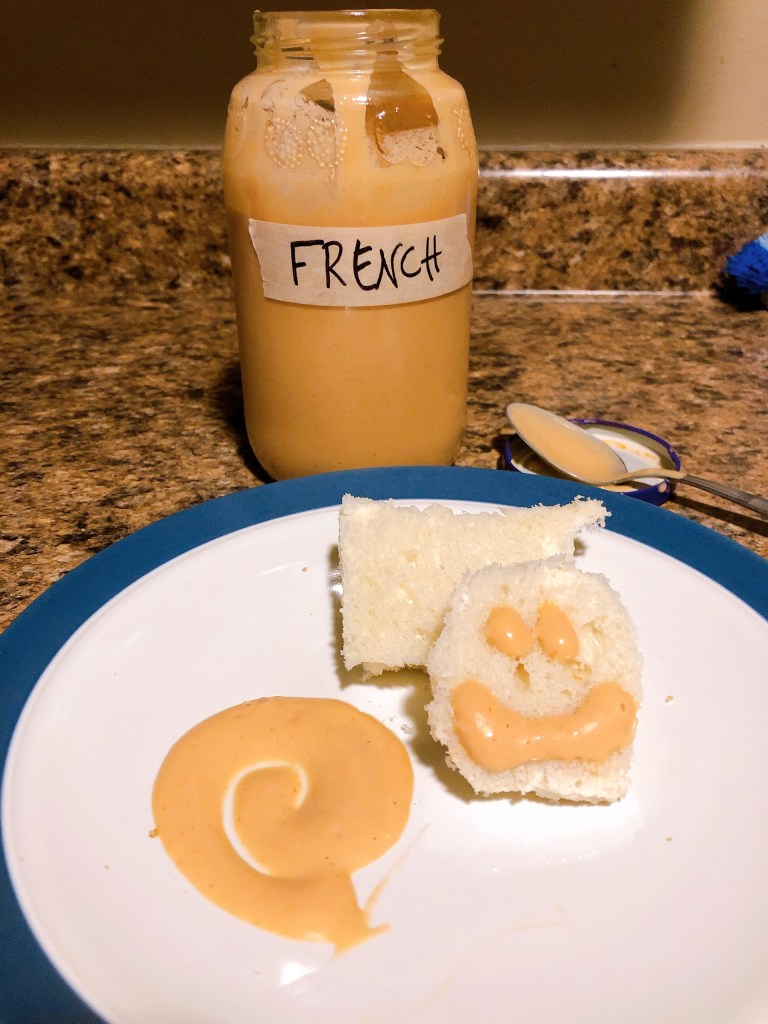
Around late summer, I started working on a new resolution: sauces. I’ve gotten a lot better at main dishes in the past couple of years, and as my technique gets better–I heat something more evenly, or cut it more consistently–there’s only so much the final taste of what I cook will improve. It’s true that the texture of things will improve a lot, but it’s a law of diminishing returns with flavor. In order to improve the taste of what I cook, and maintain the rate of improvement to flavor that I’ve had in the past few years, I started looking at my next low hanging fruit: a sauce.

Sauces are a great way to add flavor to a base dish, and varying the sauce can make the same core dish completely different. This resolution is at an ‘in progress’ stage, but I’m happy with my level of comfort I’m developing.

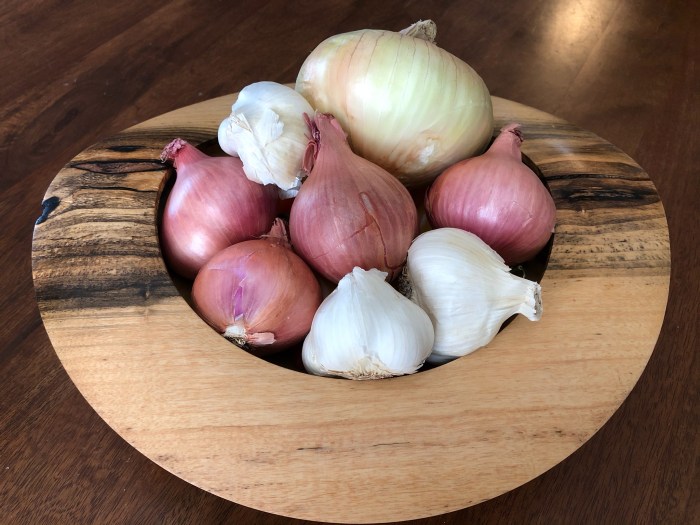
Looking forward to this next year, my resolutions are to build and use an indoor herb garden, and explore fermentation and pickling (and in this vein hopefully canning).

The herb garden is a simple goal: I just want enough herbs on hand to add a bit of flavor to a cocktail or to a dish. Last year I tried to have enough basil to make pesto every other week, but that proved to need more yield than I could grow in my apartment. And then I was gone for just shy of a week and most of it died. So this coming year I’m aiming to moderate my expectations and build a more sustainable garden. Big targets for me are making sure that they have enough light in the winter, and maybe automating the water system.

Fermenting is a more ambitious goal for me. I’ve never done anything like it, and I don’t know what to expect flavor wise. I just know that it’s flavors I’m currently not using in dishes, and maybe I should be. It’s really hard to guess if I think it’ll be worth it too: the amount of wait time before you can taste it is an exercise in patience, and it might be more of an exercise than reward. But on the other hand difference between actively working with it vs waiting for it might mean that it’s worth it purely because you can make it way in advanced and you don’t have to plan to use it on a certain day. Either way it’s an area I have no experience in, and adding some experience (even mistakes) should help me be aware of what I can and can’t do with flavor.

Continuing from the last few years I plan to try to get into the habit of making bread, learning about sauces and adding them to my dishes, making different kinds of chili powders, and making more pasta. (I haven’t gotten to this point yet, but this blog will slowly accrue many pasta posts).

These Are Tears of Joy

Michael

I often cry when making this sandwich. Onions everywhere.

Ingredients

Directions

  1. Preheat oven to 375°F.
  2. Cut the sub loaf in half horizontally and scoop out the top half. This is not strictly necessary, but it makes the sandwich much easier to construct and eat. If you do scoop out the bread, you’d better eat it on its own or find some other use for it, otherwise I’ll come after you.
  3. Lay the cheese out on the bottom half of the loaf. Spread apricot preserves on the top half; don’t make the layer too thick, but the whole surface should be covered.
  4. Assembly, part one: 1) Sprinkle on the scallions, pressing them into the preserves; make sure to get them on the “walls” of the bread (if you scooped it out) and edges. 2) Add the pickled red onions, again making sure to layer on the bottom and walls. 3) Layer in the turkey; there will be enough that you can start squashing the bread to flatten it out without spilling the previous ingredients or making too much of mess. 4) Spread on the roasted onions & sweet peppers; these are pretty mild, so go crazy. 5) Add the fried shallots; marvel at your beautiful creation–but wait, there’s more!
  5. Set both halves of the sandwich on a small baking sheet. Place in the oven and toast for 6-8 minutes. The cheese will start melting into the bread; the roasted onions & peppers and shallots will gain some additional browning.
  6. Remove sheet from oven. Using the flat of a spatula, press down the top half of the sandwich. It won’t stay flat, but it will help with the next step.
  7. Assembly, part two: 1) Drizzle on the smoked French dressing; it shouldn’t overwhelm the sandwich, but there should be some in every bite. 2) Layer on as much lettuce as you’d like. 3) Set the bottom (cheesy) half of the sandwich onto the lettuce.
  8. Flip over, admire, and enjoy!

Let me guess what you’re thinking: “This blog finally posts a recipe for an actual meal, and it’s just a sandwich?” I mean, I do see your point. Although, given that several of the previous recipes were tagged as condiments, I’m not sure you should be so surprised.

Listen, sandwiches are delicious. Sandwiches are also really undervalued, especially by those of us who don’t live in big cities where people walk everywhere and where sandwiches are particularly convenient. That shouldn’t matter, though. If we cut out sandwiches from our “actual meals” repertoire, we lose out on a huge variety of possibilities. It’d be akin to thinking that any meal with pasta in it isn’t an “actual” meal because spaghetti with jarred tomato sauce is so easy to make and it’s what I make when I’m being cheap and lazy. Do I think a peanut butter & jelly sandwich is an artisanal masterpiece? Not unless you’re doing something way cooler than I am. (Do I think this sandwich is an artisanal masterpiece? A little bit, when I’m feeling confident.) The fact that PB&J is classic, easy, and occasionally a staple shouldn’t rule it out its whole family.

This sandwich is my variation on “Don’t Cry For Me Argentina” by Chef Tyler Kord in his book A Super Upsetting Cookbook About Sandwiches (pg 18). As noted elsewhere, I love onions, apparently almost as much as Kord. I also have wussy eyes and am the embodiment of the “someone’s cutting onions around here” meme.

When choosing a jar of preserves, I suggest finding a brand that uses straight sugar (e.g. Bonne Maman) rather than high fructose corn syrup (e.g. Smucker’s). This has nothing to do with healthiness or being anti-fructose. The preserves should provide a subtle hint of sweetness. Preserves that use corn syrup taste too, ya know, syrupy, and it’s noticeable.

This sandwich does not need to be toasted to be enjoyable. If you’re strapped for time, or if you want to pack it as a lunch, or if you just don’t feel like using the oven, the sandwich is still delicious. My key suggestion, though, would be to switch out the Italian sub for regular sandwich slices.

Spilled Milk under the Bridge

Michael

Quick warning to the not-yet-wise. If you have to boil whole milk or cream or any high-fat dairy product, never look away. Ever. Probably shouldn’t even blink. The odds are astronomical that it will go from warm to overboiling in the blink of an eye.

The picture above is from an attempt at making eggnog. The recipe by Alton Brown says to bring the milk/cream mixture to “just boiling” by cooking on high heat. Okay. So. Alton Brown is magic and I’m sure he can manage doing that just fine without overboiling. But for most other people, I recommend taking it lower and slower. I cooked it at several ticks lower than “high” on my stove and still got the above result.

If this happens to you, don’t lose heart! Just keep practicing until you too are magic (not as magic as Alton Brown — let’s be realistic) and eventually you’ll be able to avoid overboiling your milk and cream. And then you won’t have to cry over it or pour it under a bridge or count it all in one basket or anything.

Fried Shallots

Michael

Ingredients

  • 4 shallots, sliced into as thin of rings as you can manage
  • 1 Tbs cornstarch
  • Oil for frying

Directions

  1. Pour 3/4″ – 1″ canola oil in a stainless steel or cast iron pot. Heat to 250°F.
  2. Toss the shallots and cornstarch. Start with less cornstarch and keep adding until the shallots feel dry.
  3. Divide the shallots into manageable batches (the amount per batch will vary depending on the diameter of your frying pot). One batch at a time, drop the shallots into the oil. Let them fry until they pick up some color from the oil (you may need to pull them out to be able to tell). Transfer them to a paper towel lined plate. Repeat with remaining batches.
  4. Increase oil temperature to 350°F. Line your plate with a clean paper towel.
  5. Again in batches, place the par-fried shallots into the oil for 15-20 seconds, agitating constantly.
  6. Let dry.
    Notes:
  • When mixing in the cornstarch, I recommend using your hands, as this will help break the rings apart and help coat everything evenly.
  • If too much cornstarch is added, all it does is waste the cornstarch and create a sad layer of debris in the bottom of the pot. I call it sad because, no matter how much it felt like sand, I couldn’t make even a single sand castle out of it.
  • Between the two rounds of frying, I pat the shallots dry to remove excess grease, like with bacon. I think this helps them get a bit firmer before their second dunk, which helps the crispiness in the long run. I’m still experimenting with this theory.

Frying is very new to me because I previously only had nonstick pots. Now, I’m not advertising that people should have weddings just because of the opportunity to get more kitchen stuff, but I can’t deny that it’s been a major boon, and it’s quite impressive the number of times I’ve heard some variation on, “The true proof that you got married is your nice KitchenAid mixer.” Anyway, my point is that I now have a dutch oven and I’ve been using it to fry some stuff. Like these shallots.

Never fried anything? The shallot slices are relatively small and the oil temperatures are relatively low, so the chances of splashing, spitting, and burning are relatively low. Never used shallots (or not sure what they taste like because they always disappear amidst other ingredients)? Here, they’re the leading role!

These little beauties are a great addition to lots of things, whether looking for the flavor, a bit of crisp, or a minuscule “cheat” item in your diet.

This recipe is a work in progress, and updates will be posted as they’re discovered. Current goal: get them crispier. (Please post any suggestions in the comments below!)

Roasted Onions & Sweet Peppers

-Michael

Ingredients

  • 1 yellow or sweet onion, sliced
  • 5-10 sweet mini peppers, sliced (will depend on size of onion/peppers)
  • 1 Tbs olive oil

Directions

  1. Preheat the oven to 400°F.
  2. Peel the onion and cut it into thin, short slices, about 1/2″ long.
  3. Cut the peppers into similarly sized slices, removing all seeds.
  4. Toss in a bowl with the olive oil. Once fully coated, spread in a single layer on a baking sheet.
  5. Bake in the oven 25-35 minutes.

The number of peppers you need will vary on the size of the onion, the size of the peppers, and personal preference. You’ll want somewhere between a 1:1 and 2:1 ratio of onions:peppers. I tend to lean toward the 2:1 ratio. Shocker.

Do not use too much oil. The the point of the oil is to add a hint of flavor and to keep the onions and peppers from sticking to the baking sheet. Too much oil will keep them from crisping. You want some regular looking onions/peppers, some with crisped edges, and a few that are at least 50% char. (This is also why you shouldn’t pause to stir them at all while they’re roasting.) Variety is the spice of onions & peppers.

These don’t have to be perfect. They don’t have to be sliced. I like to get everything I can off the top of the peppers, so those bits wind up looking more diced than sliced. It really doesn’t matter–they’ll all be roasted and beautiful and delicious.

As stated elsewhere, I don’t use as much salt as most people. If you want to add salt to the onions and peppers, do so when tossing them with the oil. I don’t recommend it, though, unless you plan on eating these on their own; otherwise, save the salt for seasoning whatever dish you’re adding these to.

Smoked French Dressing

Some happy bread of mixed French-Italian descent, and a fancy swirl on the plate for fanciness.

Michael

This one is easy. Find a French dressing you like (whether that be a recipe or a bottle from the store) and add smoke! My favorite French dressing recipe is Tyler Kord’s in A Super Upsetting Cookbook About Sandwiches (pg 162-63), shared here with his permission.

Ingredients

  • 1/2 cup ketchup
  • 1 tsp liquid smoke
  • 1/2 cup mayo
  • 1/2 cup white vinegar
  • 1/2 cup canola oil
  • 1 garlic clove, minced
  • 1 Tbs honey
  • 1/2 Tbs Dijon mustard
  • 1 tsp kosher salt

Directions

  1. Mix ketchup and liquid smoke. Let sit for a minimum of 10 minutes.
  2. Combine smoked ketchup with all other ingredients in a blender or food processor. Blend until smooth.
  3. Refrigerate.
    Notes:
  • Be careful when using liquid smoke, because a little goes a long way.
  • If you have a sufficiently strong blender or processor, you may not need to cut up the garlic ahead of time. When making the dressing, I use a Nutribullet blender, so the dressing gets smoother faster if the garlic is minced.
  • You may need to pause the blender once or twice to scrape down the mixture to ensure everything blends together. The honey in particular tends to be stubborn about mingling with the rest of the gang.

Unlike Keith, I haven’t made my own smoker from beakers and scientific tubing and duct tape, and so I can’t actually smoke any of my recipes. And anyway, I refuse to buy charcoal or wood chips or anything similar since I don’t own a grill and this is the only thing I smoke. Instead, I use liquid smoke.

(“But Michael,” you say. “Wouldn’t you smoke more things if you made or bought yourself a smoker? You make more bread now that you have a stand mixer — wouldn’t this be similar?” You’re proud of yourself for the good point you’ve made. “But reader,” I say. “Shut up.”)

I suppose I don’t actually know how long this keeps. Given that all of the ingredients independently have quite long shelf lives, I assume the dressing also has a fairly long shelf life. I know for sure that it can last at least two weeks when kept in a sealed glass jar in the fridge. We’ve usually eaten it all by that point, though.

Want Not, Waste Not

-Michael

In case you’re new to cooking and haven’t considered this aspect yet, we want to warn you up front: you are going to waste a lot of food and resources. It’s inevitable. You’re going to mess up recipes. You’re going to make recipes perfectly but end up hating it anyway. You’re going to make a tart and only need three-quarters of the crust dough and wind up throwing away the rest. You’re going to make a recipe which calls for half a cup of buttermilk but then have nothing to do with the rest of the buttermilk but you’ll hang onto it just in case you do until you realize you’ve had it for three months and there’s no way it hasn’t spoiled. And then there’s all the waste of packaging and things like spare bits of parchment paper that you can’t do much with unless you’re far craftier than I am.

Don’t misunderstand. I’m not offering a free pass. We should always do our best to waste as little food and few resources as possible. If you’re buying two lemons from the supermarket, you don’t need to use one of the little produce bags. If you plan on baking lots of pies or tarts or other dishes that require a blind-baked crust, it’ll eventually be better to buy reusable pie weights rather than use and toss rice or beans each time. What I am offering is a sometimes-you-just-gotta-and-that’s-okay pass.

Sodi(minim)um

-Michael

Salt is important. It’s tasty and it pulls a lot of weight in convincing various ingredients to be friends with each other. However, I don’t use it nearly as much as most Americans. My husband got used to eating low-sodium meals when living at his parents’ house for a while, and so I got into the habit of low-sodium cooking to match his taste. This means we both are much more sensitive to salt and more keenly aware of its presence in most meals. Recipes usually call for salt to taste, and that will definitely be the case with most of my recipes–the amount that I include in ingredients list will need to be taken, well, with a grain of salt.

This only applies to cooking, not to baking. As far as I understand it, the chemistry behind baking is much more exact than in cooking and is much less forgiving. I always follow and will always give exact measurements for baked goods, even the salt.

Frothing Milk

Keith

Ingredients

  • Whole Milk (or any milk, it’s not that big of a deal)

Directions

  • With Frothing Wand:
  • 1. Immerse the wand in the milk and blend for about 20 seconds.

    2. Microwave milk for 20 seconds.

    3. Immerse the wand again and blend for about 20 seconds until foam forms and holds with barely any large bubbles.

  • With No Wand
  • 1. In microwavable cup that has a lid, pour milk in and with lid on shake vigorously for 30 seconds.

    2. Remove Lid and microwave milk for 20 seconds.

    3. Place lid back on, and shake for 30 seconds.

  • With Machine to Steam Milk
  • 1. Follow the directions for that machine.
  • If the milk bubbles start to grow and merge, the milk is not warm enough and will not hold the froth. Put milk into microwave and nuke it on high for 10 seconds and repeat the forthing step until bubbles hold and no froth grows.
  • Both listed methods have you froth the milk before heating: it seems to help the milk heat evenly when it’s slightly aerated to begin with. It can be skipped but when I skip it I find myself reheating and reforthing a bit more frequently.
  • Add a drop of vanilla once the froth is stable and doesn’t need to be heated further, and mix that in with your frothing technique of choice. For the first few sips it’ll be noticed, but much thereafter the flavor of the coffee will overpower it.

Recently (albeit decreasingly recently) we got a new coffee maker. I drink too much coffee for a keurig to be a reasonable machine, and the coffee pot we had needed to be replaced. So we went shopping for a coffee machine, and I discovered that there is no coffee pot that is worth it’s price tag. So we got up-sold, and purchased an expensive coffee maker. Because if I was going to pay more than $10, I wanted bells and whistles.

And among the bells and whistles we got was an attached milk frothing wand.

I usually take my coffee black so this is new territory for me. But I paid for it, so I decided I’d figure out how to use it and make the best froth I could for the days I feel like being fancy. The froth took a bit to figure out, and while Serious Eats has an excellent page on the physics (or chemistry? or biophysics? Whatever you’d call an explanation of the protein structure at play in milk froth), their guide was aimed at folks with an espresso machine. That’s where The Pioneer Woman stepped up, providing an explanation of 8 different ways to froth milk. Between the two, I’ve adapted it for my setup with a frothing wand, and noted the approach that gives me the best and most consistent foam. I don’t think I’d ever use a cup to shake the milk into foam, but I thought it’d be useful to at least add it on the off chance the concept is useful sometime in the future.

While I’m adamant that no coffee machine ought to be priced so high and that all coffee machines are not worth their price, I do love the pot we ended up with. I’m as close to saying ‘worth it’ as I’ll ever get I think.

There Will Be Onion

-Michael

We. Love. Onions. And garlic. We’ll try to behave when we put recipes on here, but we can’t make many promises. If you look at a recipe and think, “Wow that’s a lot of onion,” feel free to use less. Also feel free to contemplate how much better your life could be if you loved onions more. If you look at a recipe and think, “That seems like a reasonable amount of garlic,” then welcome to the club, but you should know that we probably actually use more when we make it for ourselves. Sure, the point of cooked mushrooms is the mushrooms. But, ya know, sometimes I just really want my mushrooms to be 50% garlic. (Luckily, my husband loves garlic just as much as I do, so he never exiles me to the opposite end of the apartment).